Golden Tips for Making Perfect Bread from Mixing to Baking
BAKING TIPS
2/13/20262 min read
Introduction to Bread Making
Bread making is both an art and a science. It can be an incredibly rewarding process, yielding delicious results that are far superior to store-bought alternatives. Whether you are a novice or an experienced baker, these golden tips aim to guide you through the essential stages of bread making, from mixing ingredients to the final baking process.
Mixing Ingredients: The Foundation of Great Bread
The first step in baking bread is mixing your ingredients correctly. High-quality flour is crucial, as it provides the structure and texture to your bread. When selecting flour, consider your recipe's requirements, such as bread flour for chewy loaves or all-purpose flour for softer varieties. Additionally, ensure you measure your ingredients accurately; this not only affects the flavor but also the bread's overall consistency.
Begin by combining your dry ingredients, such as flour, salt, and yeast. Mixing these ingredients well will help distribute the yeast evenly. In a separate bowl, mix the wet ingredients—typically water and any fat, like oil or butter—before integrating them with the dry mix. This step is essential as it activates the yeast and allows it to start working.
Kneading: Developing the Dough
Kneading is a critical step that develops gluten, giving your bread its desired elasticity and structure. After mixing, transfer the dough to a floured surface. Your can either use the heel of your hand, push the dough away from you, fold it over, and rotate it, use the stand mixer with the dough book for bread and pasta or use the bread machine for the funtion of Keneading. if you are doing this manually, repeat this process for about 8-10 minutes until the dough becomes smooth and elastic. A well-kneaded dough should feel slightly tacky but not sticky.
Bear in mind, if you are a Beginner that the sensory experience of kneading by hand is invaluable in understanding dough characteristics.
Proofing: Let the Dough Rise
After kneading, it is time for the first rise, also known as proofing. This step is crucial as it allows the yeast to ferments and generate gas, causing the dough to expand. Place the dough in a lightly greased bowl, cover it with a kitchen towel or plastic wrap, and let it rise in a warm, draft-free area for about 1 to 2 hours, or until it has doubled in size. A good tip is to create a warm environment—this can be done by placing the bowl in a turned-off oven with the light on
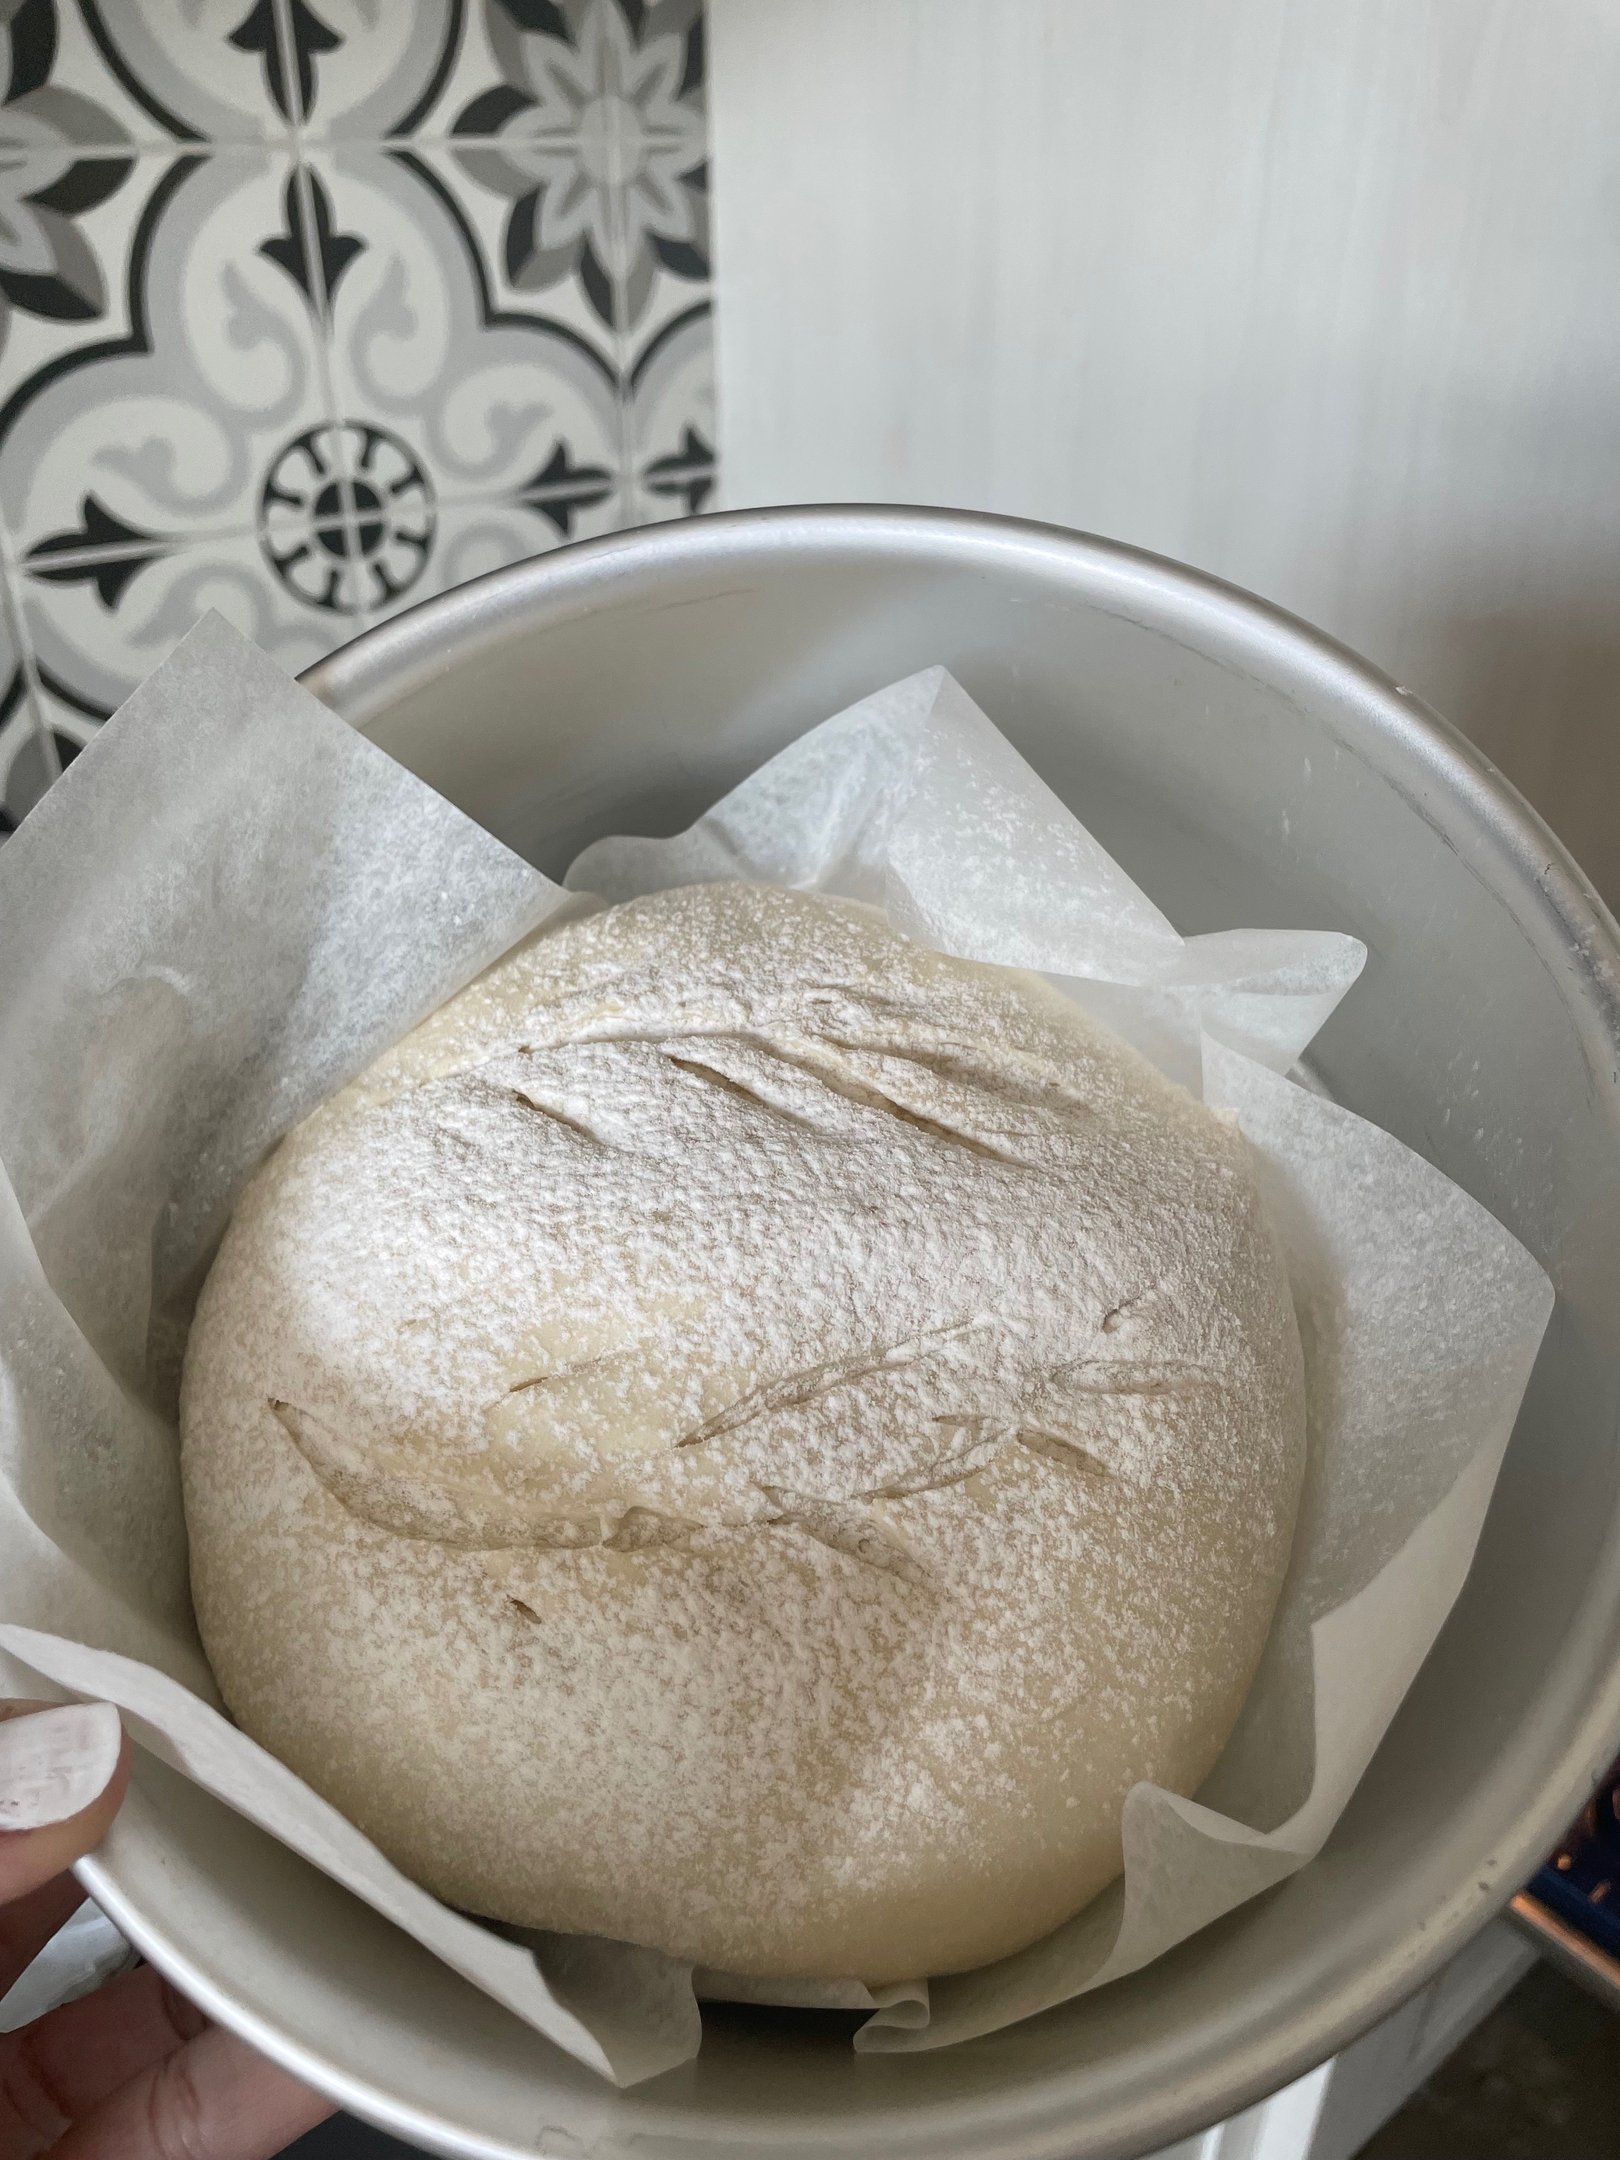
Baking: The Final Touch
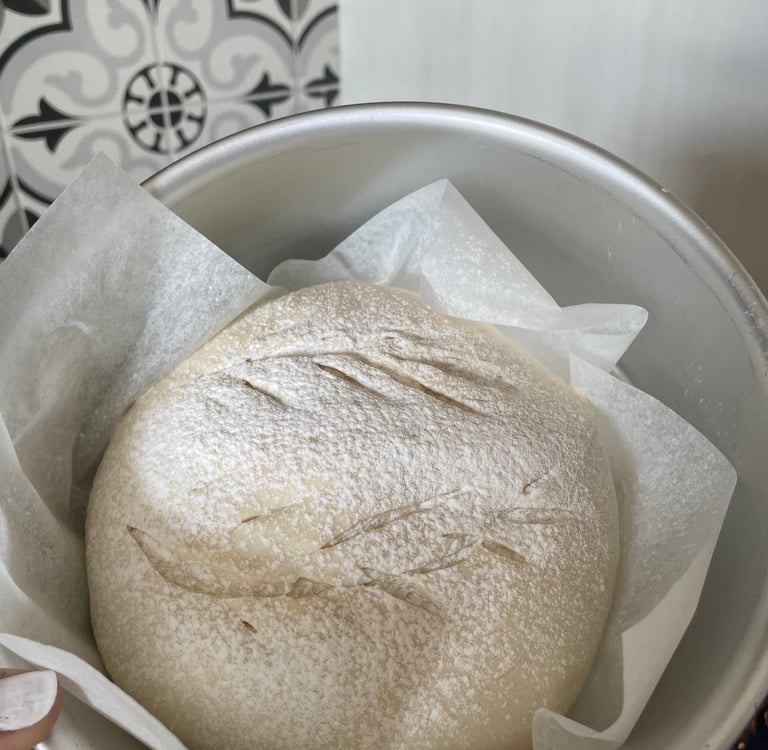
Once the dough has risen successfully, it is ready for shaping and the final proof. Shape your dough into loaves or rolls and let it rest again for about 30 minutes. This second rise helps the bread to achieve a lighter texture. When you are ready to bake, preheat your oven to the desired temperature—typically between 375°F and 450°F, depending on your recipe.
For a crusty exterior, consider placing a shallow pan filled with water in the oven to create steam and promote a golden crust. Bake the bread until it is golden brown and sounds hollow when tapped on the bottom. Allow it to cool on a wire rack, which ensures even cooling and prevents a soggy bottom.
These tecnique of baking is usefull usually for french baguette, sourdough, peasant bread and other rusctics bread.
Conclusion
By following these golden tips for making bread, you can transform simple ingredients into a delicious and satisfying product. The journey from mixing to baking is both enjoyable and rewarding, so embrace the process and happy baking!
Contact
inspobakestudio@inspobaking.com
© 2025. All rights reserved.